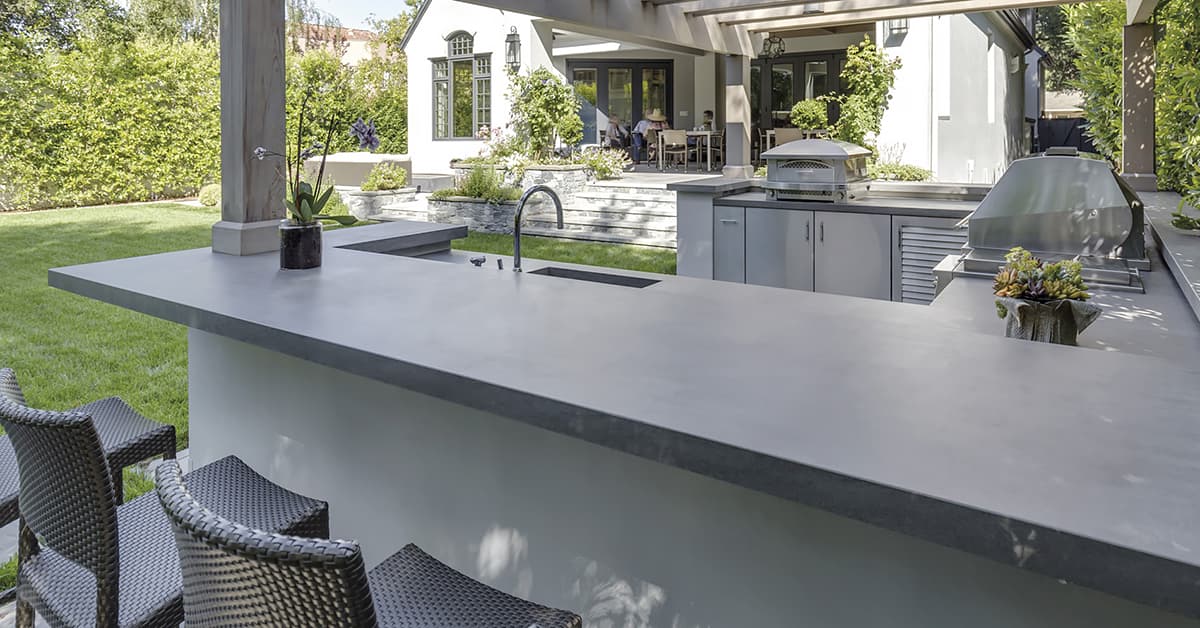
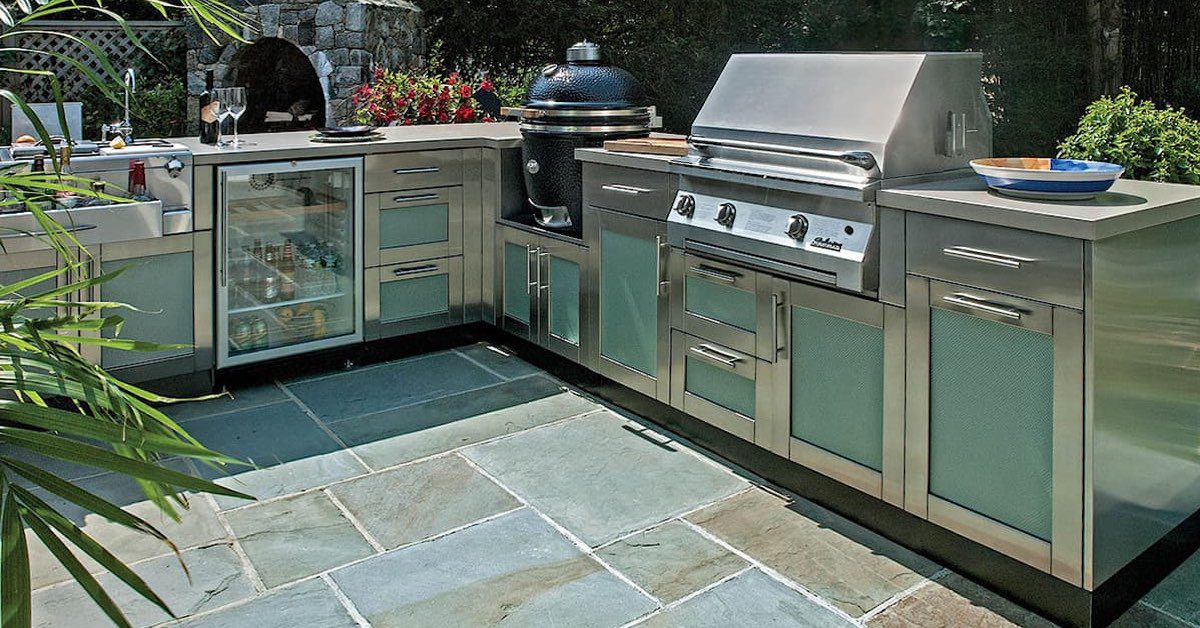
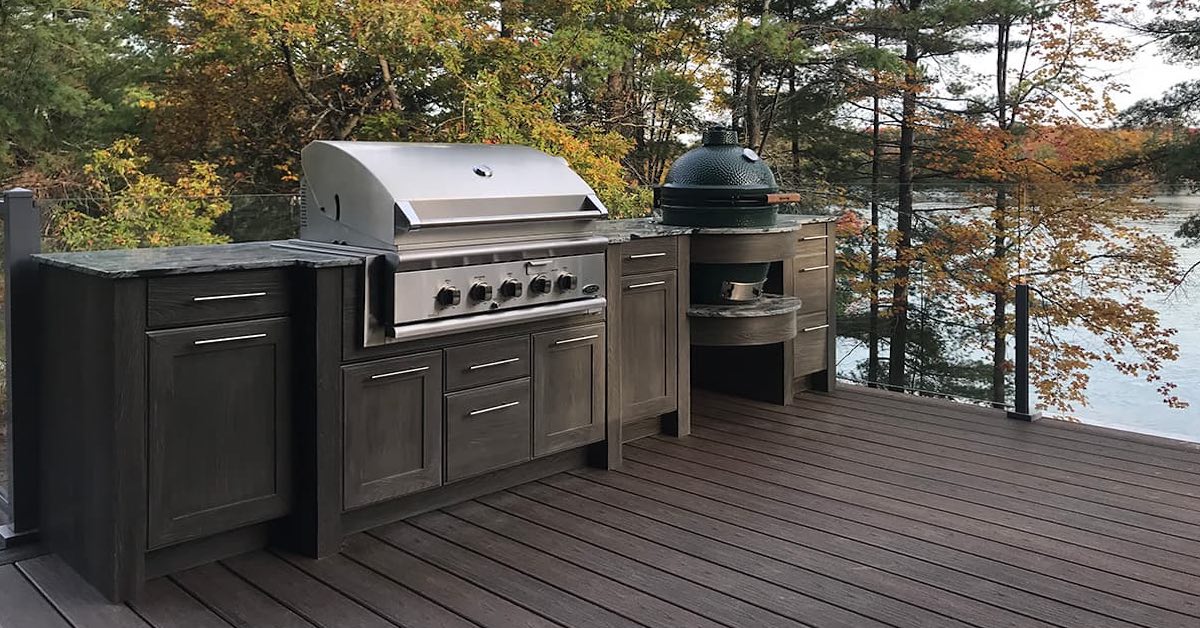
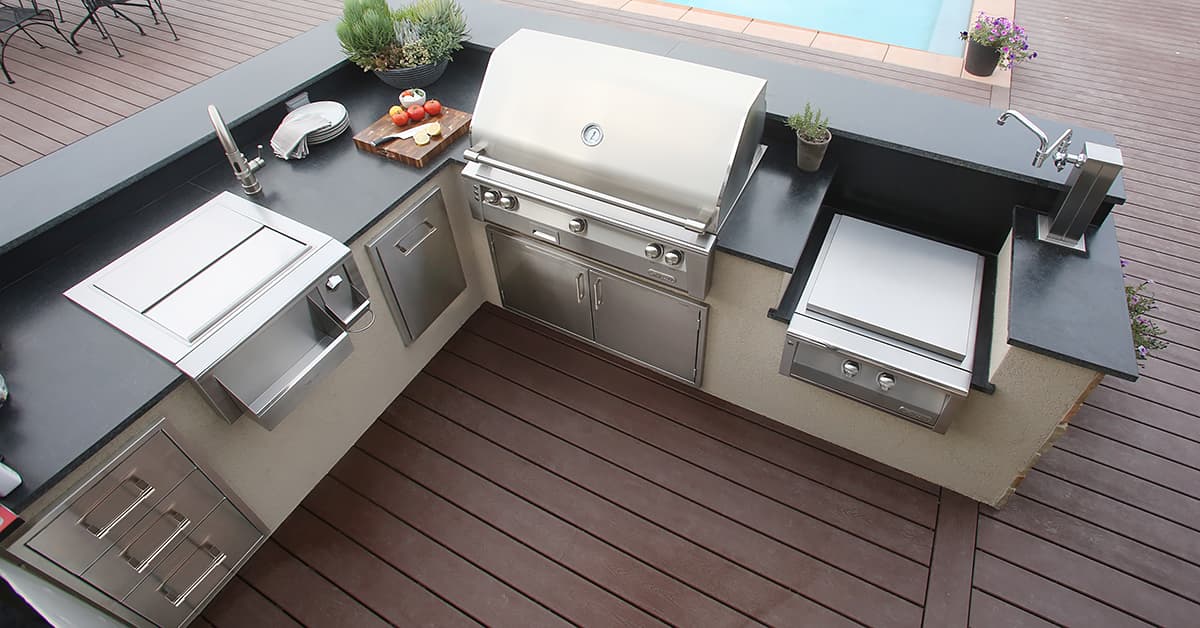
Outdoor Countertop Materials: Which Type Is Right for You?
There are many types of outdoor countertop materials available. Make the right choice for your outdoor kitchen with our handy guide.
There are many types of outdoor countertop materials available. Make the right choice for your outdoor kitchen with our handy guide.
Get your spring off to a positive and productive start by focusing on these ten essential backyard spring cleaning tasks.
Try these winter grilling tips to satisfy your appetite for freshly grilled food, even when the weather won’t cooperate.
Enjoying your backyard doesn’t have to end in early autumn. Here are 7 tips to improve your fall outdoor living experience.
66% of Canadians own a grill and use it regularly during the summer. It’s no surprise why when you look at the many benefits of grilling.

The home improvement industry is booming as many homeowners tackle pandemic DIY projects to improve their living spaces.
To design the ultimate deck or patio outdoor living room with all the trimmings, here are 10 ideas you can’t go wrong with.
31% of homeowners who DIYed a home improvement project said they weren’t successful. Here are 7 reasons to hire an outdoor kitchen company.
If adding an outdoor kitchen is on your home improvement wish list, get inspired to start your project with these 12 outdoor kitchen benefits.

The Toronto Sun interviewed Outeriors president Daniel Albo about the essentials for an outdoor kitchen and why demand for them is soaring.
The weather and the grilling season are both heating up! Maximize your enjoyment in the backyard with these 7 summer grilling ideas and tips.
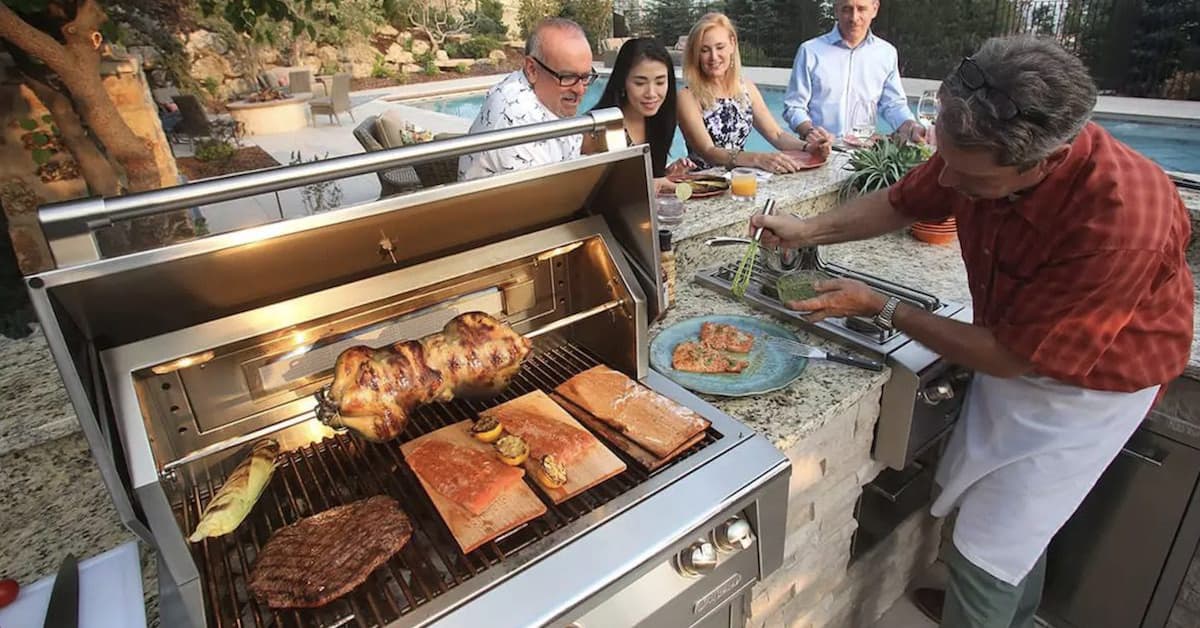
Here are some of the best outdoor kitchen appliances available to create the ultimate artisan cooking space right in your own backyard.
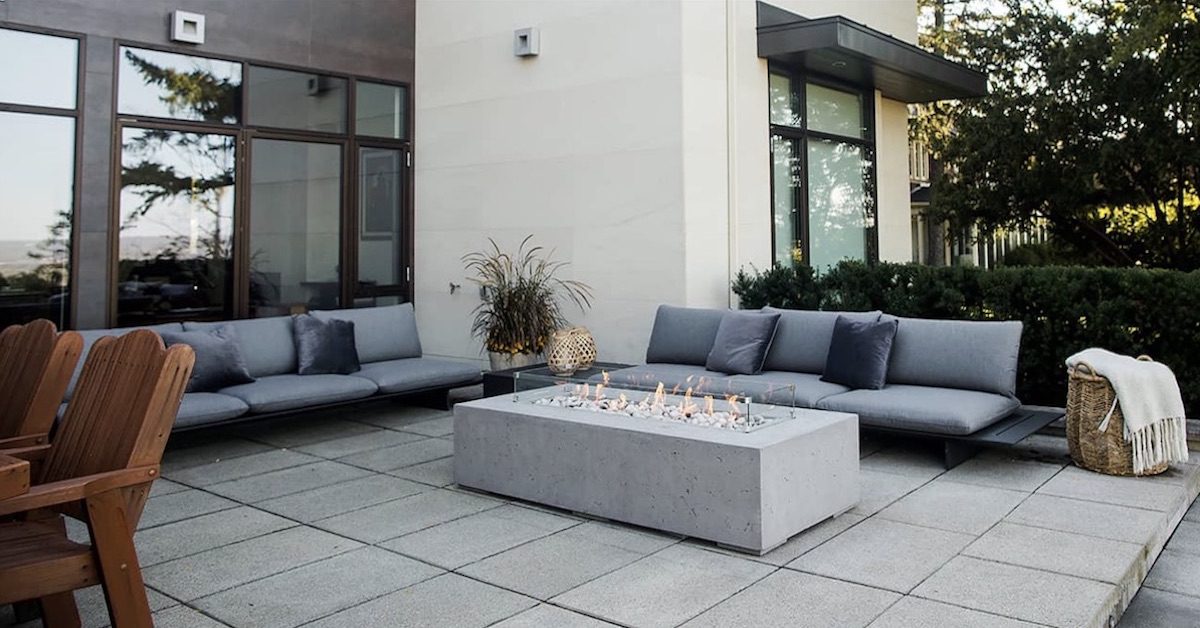
Fire pits let you enjoy your backyard virtually year-round. Should you get a wood-burning or gas fire pit? Here are the pros and cons of each.
Outdoor living renovations are on the rise due to isolation restrictions and the need to stay safe. Outeriors has everything you need to upgrade your outdoor living space.
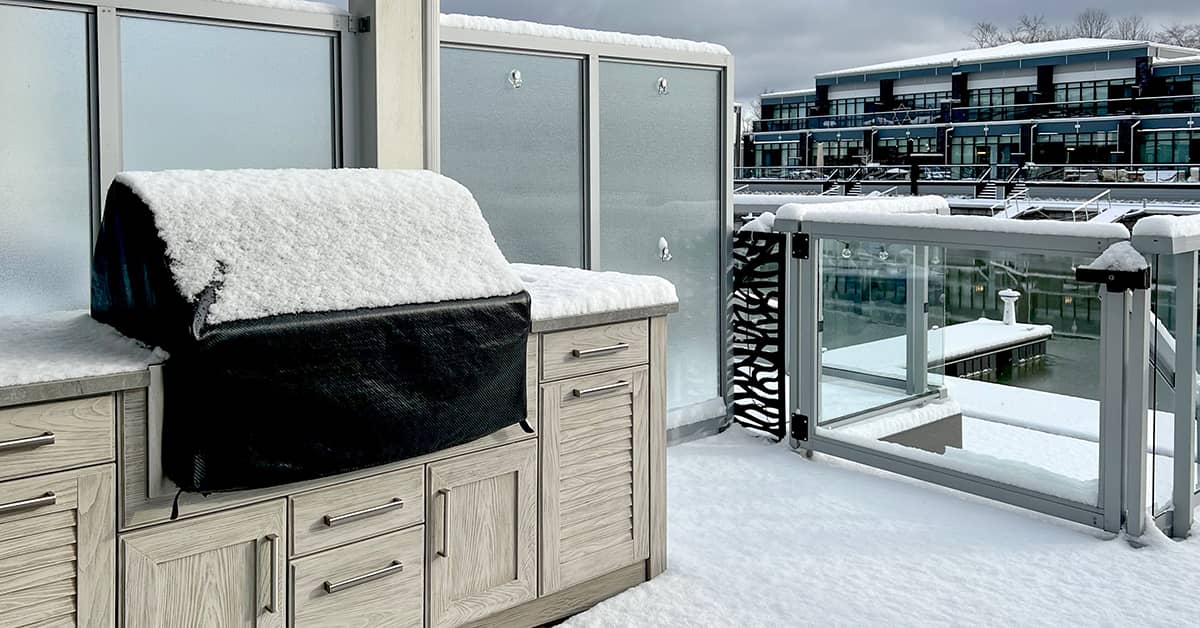
Take the time once a year to follow these steps to winterize your outdoor kitchen. You’ll extend the life of your kitchen and its components.
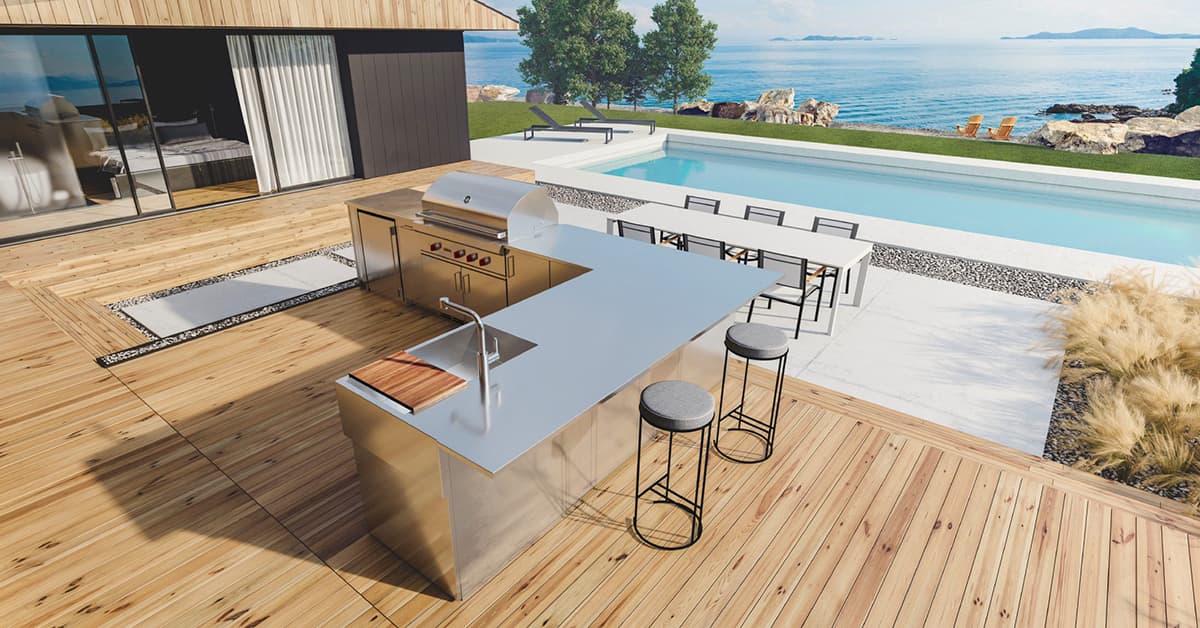
If you’re making plans for an outdoor kitchen addition to your home or cottage, here are 9 answers to some common questions about an outdoor kitchen design.
What premium grill benefits should you be aware of when your outdoor kitchen is being designed? It all comes down to looks, functionality, and durability.

The right outdoor home improvement projects can deliver a great return on investment and boost your curb appeal. Here are 7 projects worth undertaking.